Snakes, with their sleek grace and captivating patterns, have inspired artists for centuries. Initially, drawing a snake might seem like a complex task, but with the right approach, you can master the art of depicting these fascinating creatures.
Whether you’re a budding artist or an experienced illustrator, this guide offers a step-by-step approach to help you create stunning snake illustrations.
Understanding Snake Anatomy
Grasping the anatomy of a snake is essential for accurately portraying its form in your drawings. Snakes have distinctive physical features that shape their appearance.
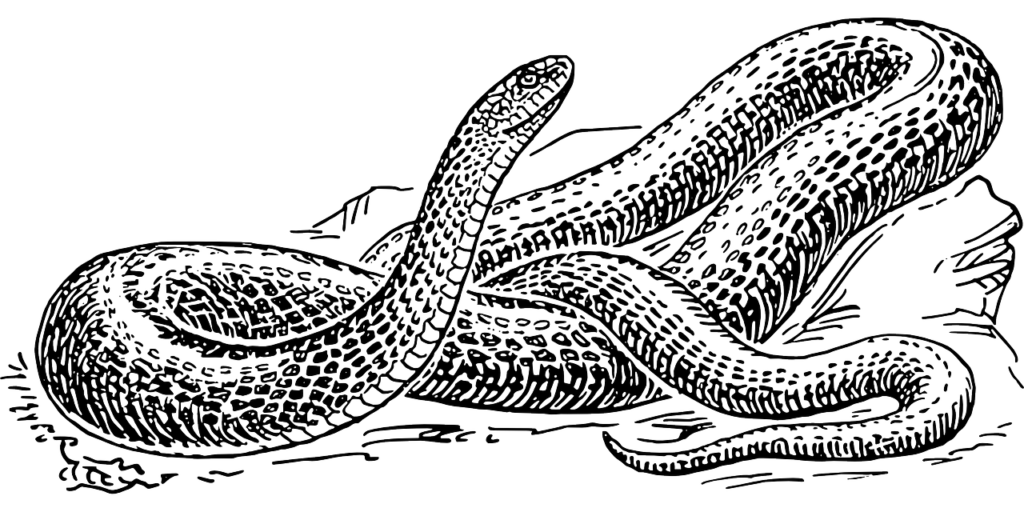
Here’s an overview of the key anatomical traits of snakes:
- Head: Snake heads often have distinctive shapes, varying from triangular to more rounded or elongated, depending on the species. Recognizing this variety is vital when drawing different types of snakes;
- Eyes: Snakes possess remarkable eyes that vary in shape and size. Some have round pupils, while others have slit-like or even rectangular pupils. The positioning of the eyes on the head also varies, influencing the overall appearance of the snake;
- Mouth: A snake’s mouth is flexible and can open wide to accommodate large prey. When drawing a snake, pay attention to the placement of fangs (if present) and the structure of the mouth;
- Body: Snakes have elongated, cylindrical bodies covered in scales. Different snake species have scales that vary in size, shape, and texture. Understanding the arrangement and structure of scales is crucial for creating a realistic image;
- Scales: These unique elements cover the body of a snake and serve various purposes, including protection and facilitating movement. Scales can have different textures – smooth, rough, ridged, or even granular – depending on the species;
- Tail: A snake’s tail is usually thinner than its body and can vary in length and shape. Some snakes have relatively short tails, while others have longer, tapered tails;
- Color and Patterns: Snakes are known for a wide range of colors and patterns, from solid colors to complex designs like stripes, blotches, or spots. Understanding these patterns and their variations is crucial for accurate depiction.
Observing and understanding these anatomical features can significantly enhance the accuracy and realism of your snake drawings. To fully grasp these nuances and effectively translate them onto paper or canvas, studying reference images or observing snakes in various settings can be helpful.
Steps to Draw a Snake
Starting your drawing:
- Step 1. Sketch the Basic Shape: Begin with a light pencil sketch to outline the snake’s basic shape. Pay attention to the curves of its body and the proportions of the head;
- Step 2: Detailing the Head: Refine the shape of the head, focusing on its features. Add eyes, nostrils, and any distinctive markings;
- Step 3: Defining the Body: Draw the body, paying attention to the characteristic scales. Experiment with different shapes and sizes to realistically convey the snake’s texture;
- Step 4: Adding Texture and Details: Emphasize texture by shading or adding patterns to the scales. Use cross-hatching or stippling techniques for a realistic effect;
- Step 5: Final Touches: Complete your drawing by adding shadows, highlights, and any additional details to give your snake illustration a unique expressiveness.
Tips for Perfecting Your Snake Drawing
Here are some tips for refining your snake drawing:
- Study Snake Anatomy: Before starting your drawing, spend some time studying snake anatomy. This will help you understand the proportions and structure of their bodies, making your drawings more lifelike. Pay attention to different snake species, as they can vary in size, shape, and scale pattern;
- Use Reference Photos: Reference photos are a great way to get accurate information about snakes. Look for photos of snakes in various poses and lighting conditions. Also, reference photos can give you an idea of the scale pattern and texture of snakeskin;
- Start with Simple Shapes: At the beginning, it’s helpful to break down the snake’s body into simple shapes. This makes drawing the overall shape of the snake easier. For example, use ovals for the body, circles for the eyes, and triangles for the tongue;
- Pay Attention to Curves: Snakes have very flexible bodies, so their lines should be smooth and flowing. Avoid using straight lines unless you’re trying to create a specific effect;
- Vary Line Thickness: Line thickness helps create a sense of depth and volume in your drawing. Use thicker lines for areas you want to emphasize and thinner lines for background areas;
- Add Details: After creating the basic shape of the snake, start adding details. These include scales, eyes, tongue, and mouth;
- Use Shading to Create Form: Shading helps give your drawing a sense of three-dimensionality. Use darker shades for shadowed areas and lighter shades for illuminated areas;
- Practice, Practice, Practice: The more you practice, the better you’ll become at drawing snakes. Don’t be afraid to experiment with different techniques and styles.
Additional Tips:
- Try drawing snakes from different angles and perspectives;
- Use various mediums for drawing snakes, like pencils, pens, charcoal, or markers;
- Experiment with different types of paper, such as smooth, textured, or colored;
- Draw snakes in various environments, like forests, deserts, or swamps;
- Draw snakes interacting with other animals, like frogs, lizards, or birds.
You can also explore different types and styles of illustration to develop your unique style. Most importantly, have fun and enjoy the process of drawing!
Conclusion
Drawing snakes requires keen observation and attention to detail. By following these recommendations and continually practicing, you can create stunning snake illustrations that captivate viewers with their realism. Take on the challenge, experiment with techniques, and unlock your artistic potential in depicting these charming creatures.
Ready to embark on your snake drawing journey? Grab your tools and start drawing!